
수행기록퀘스트3
지난 시간에이어 장치 추가부터 시작한다.
□ 디바이스 관리 - 장치
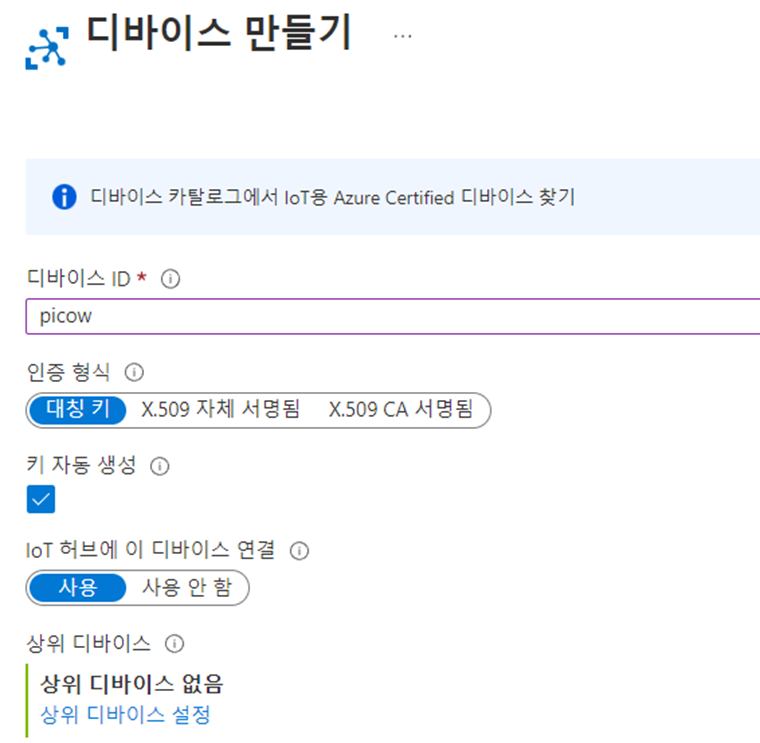
장치에서 디바이스 추가를 클릭한다.

디바이스 ID를 입력하고 디바이스를 만든다.
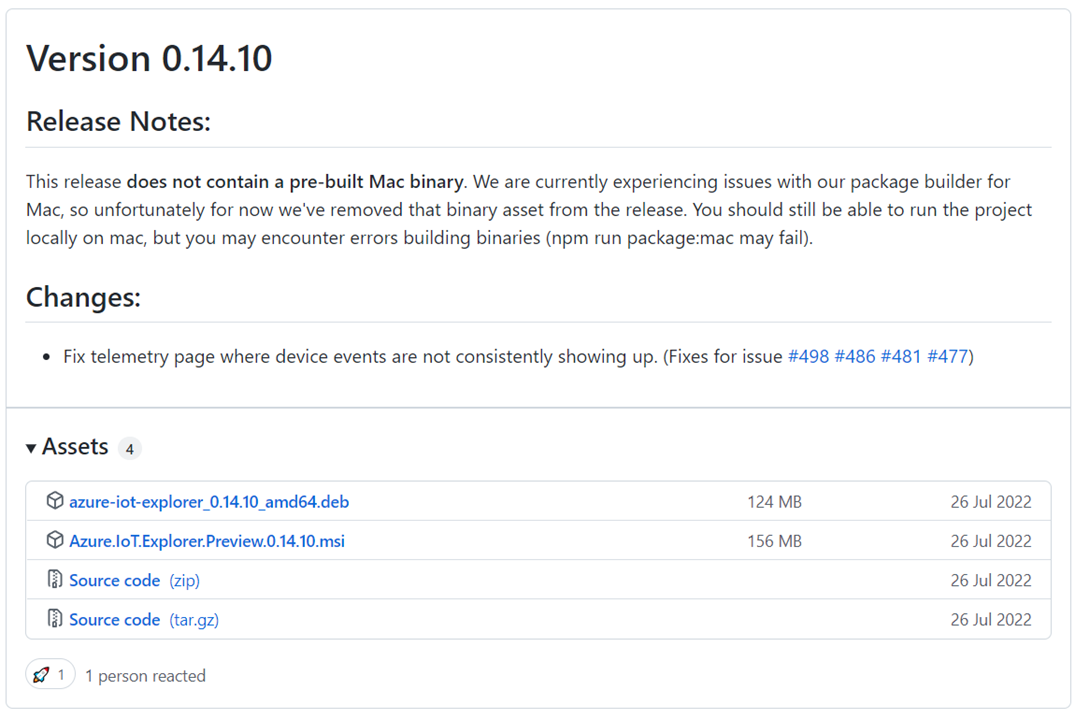
Azure IoT Explorer를 다운 받아서 설치한다.
https://github.com/Azure/azure-iot-explorer/releases
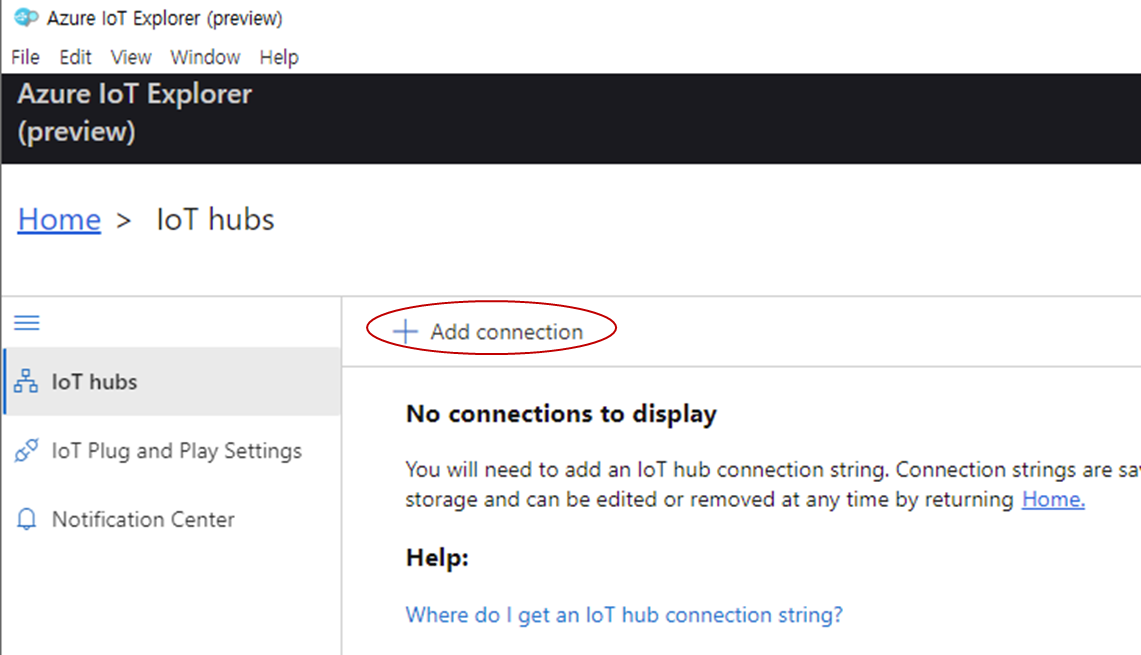
실행후 Add Connection을 클릭후 키 입력을 위해 대기한다.
다시 Azure로 돌아가서 보안 설정 - 공유 액세스 정책 클릭.
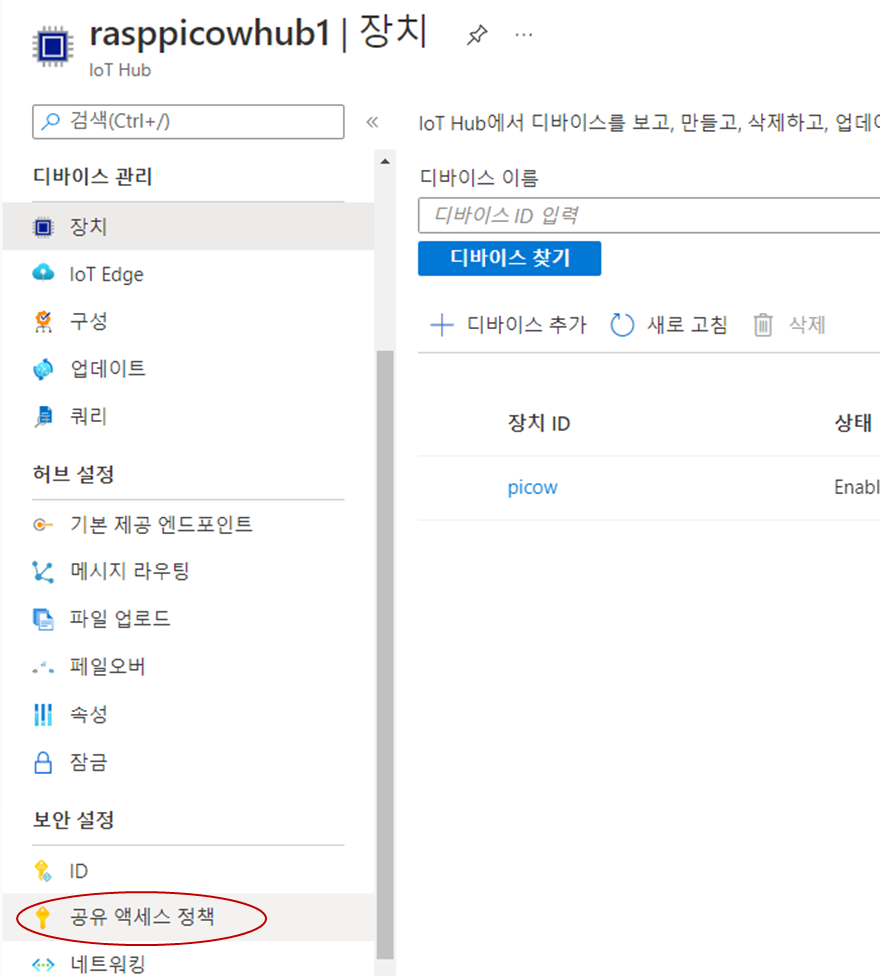
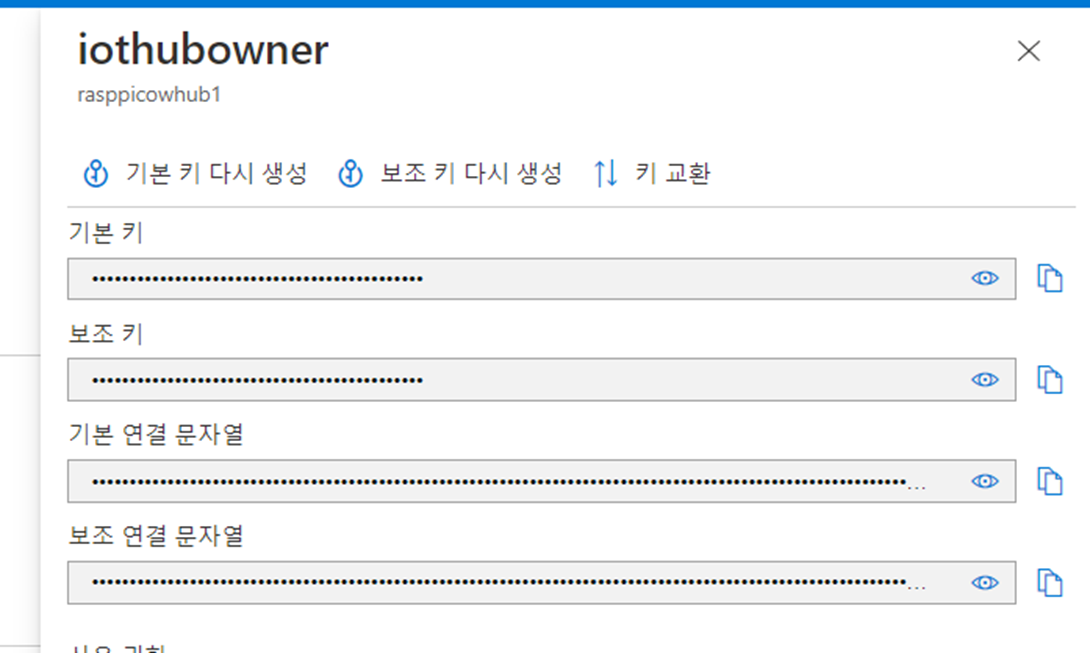
공유 액세스 정책에서 iothubowner를 클릭

기본 연결 문자열을 복사한다.
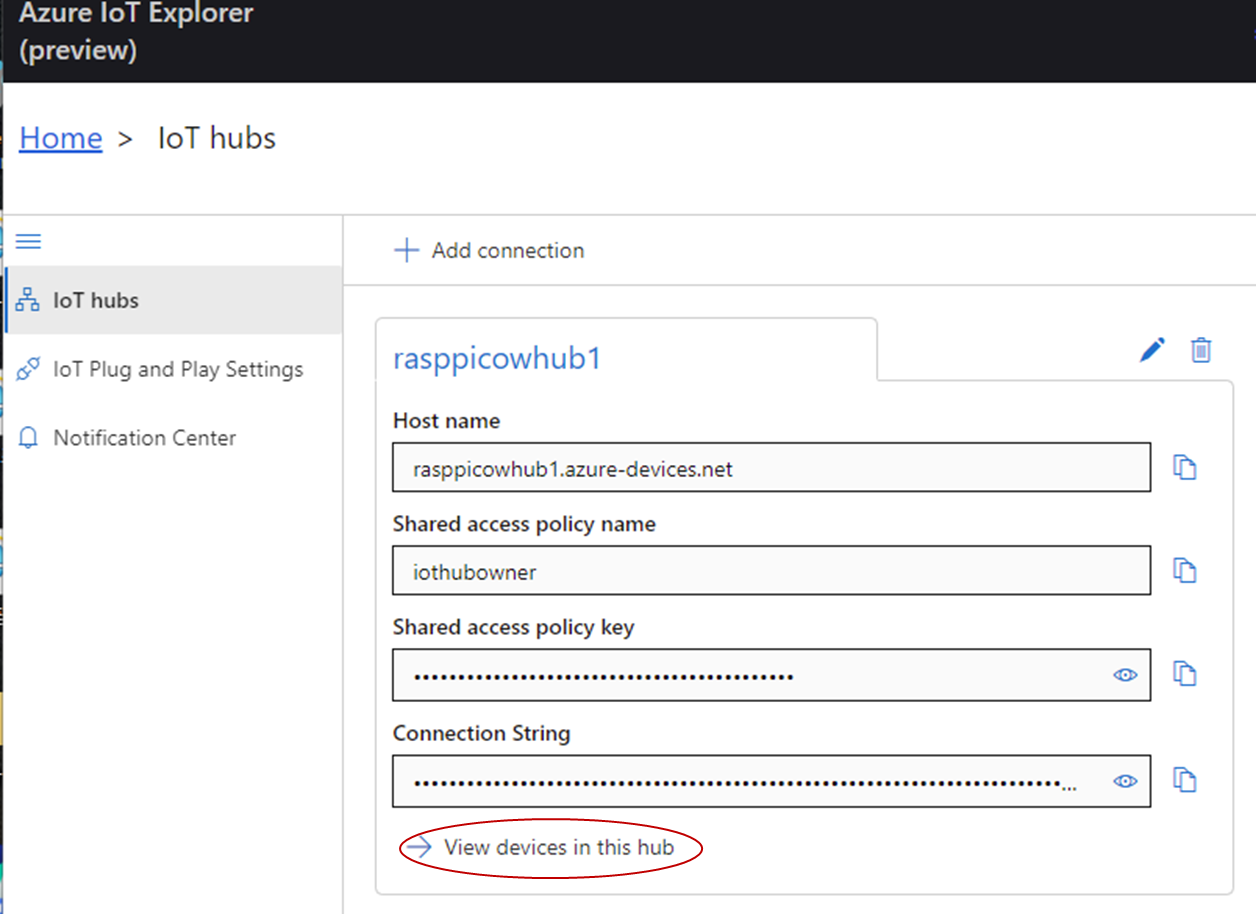
Azure IoT Exploler에서 붙혀넣기후 저장.

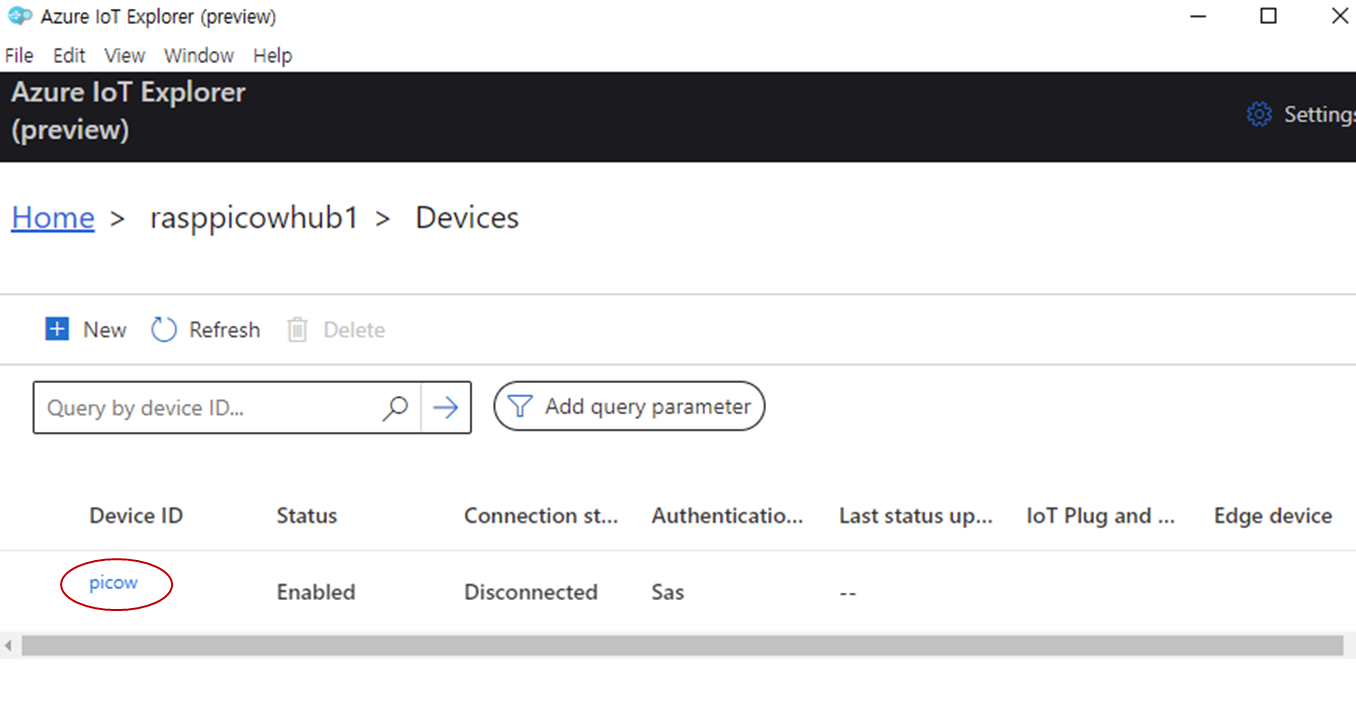
아래와 같은 화면이 나타나면 pocow를 클릭한다.
VIew device in this hub 클릭
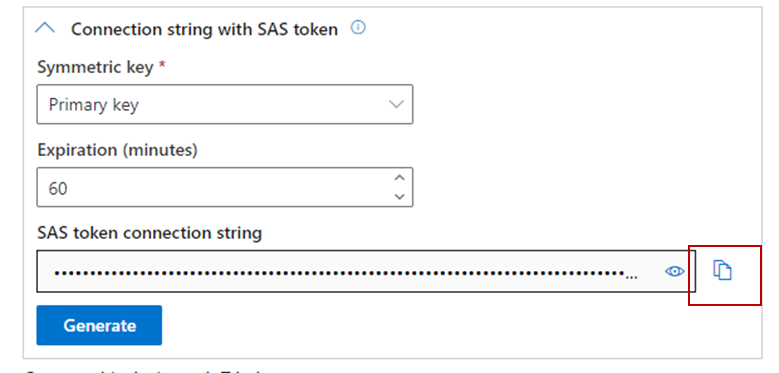
아래에서 key는 Primary key, Expiration은 60으로 하고 Generate를 클릭후 SAS token이 생성되면 복사 클릭
thonny로 돌아와서 자료를 참조하여 umqtt.simple를 설치한다.
>>> import network
>>> ssid = "Your Wifi Name"
>>> pw = "Your Password"
>>> wlan = network.WLAN(network.STA_IF)
>>> wlan.active(True)
>>> wlan.connect(ssid,pw)
>>> wlan.isconnected()?
???????True
>>> import upip
>>> upip.install("umqtt.simple")
? ? ? Installing to: /lib/
? ? ? Installing umqtt.simple 1.3.4 from ?https://micropython.org/pi/umqtt.simple/umqtt.simple-1.3.4.tar.gz
다음의코드를 입력후 iothub1.py로 저장. 자료를 참고하여 hostname, user_name,passW를 변경한다.
import network
import time
import machine

from umqtt.simple import MQTTClient
from machine import Pin

ssid = 'Your Wifi Name'
password = 'Your Password'

wlan = network.WLAN(network.STA_IF)
wlan.active(True)
wlan.connect(ssid, password)

# Wait for connect or fail
max_wait = 10
while max_wait > 0:
    if wlan.status() < 0 or wlan.status() >= 3:
        break
    max_wait -= 1
    print('waiting for connection...')
    time.sleep(1)

# Handle connection error
if wlan.status() != 3:
    raise RuntimeError('network connection failed')
else:
    print('connected')
    status = wlan.ifconfig()
    print( 'ip = ' + status[0] )

led = Pin(15, Pin.OUT)
button = Pin(14, Pin.IN, Pin.PULL_DOWN)
hostname = 'your_iot_name.azure-devices.net'
clientid = 'picow'
user_name = 'your_iot_name.azure-devices.net/picow/?api-version=2021-04-12'
passw = 'SharedAccessSignature sr=your_iot_name.azure-devices.net%2Fdevices%2Fpicow&sig=u521661910189'
topic_pub = b'devices/picow/messages/events/'
topic_msg = b'{"buttonpressed":"1"}'
port_no = 8883
subscribe_topic = "devices/picow/messages/devicebound/#"

def mqtt_connect():
    certificate_path = "baltimore.cer"
    print('Loading Blatimore Certificate')
    with open(certificate_path, 'r') as f:
        cert = f.read()
    print('Obtained Baltimore Certificate')
    sslparams = {'cert':cert}

    client = MQTTClient(client_id=clientid, server=hostname, port=port_no, user=user_name, password=passw,
keepalive=3600, ssl=True, ssl_params=sslparams)
    client.connect()
    print('Connected to IoT Hub MQTT Broker')
    return client

def reconnect():
    print('Failed to connect to the MQTT Broker. Reconnecting...')
    time.sleep(5)
    machine.reset()
def callback_handler(topic, message_receive):
    print("Received message")
    print(message_receive)
    if message_receive.strip() == b'led_on':
        led.value(1)
    else:
        led.value(0)

try:
    client = mqtt_connect()
    client.set_callback(callback_handler)
    client.subscribe(topic=subscribe_topic)
except OSError as e:
    reconnect()

while True:
    client.check_msg()
    if button.value():
        client.publish(topic_pub, topic_msg)
        time.sleep(0.5)
    else:
        pass
    time.sleep(1)
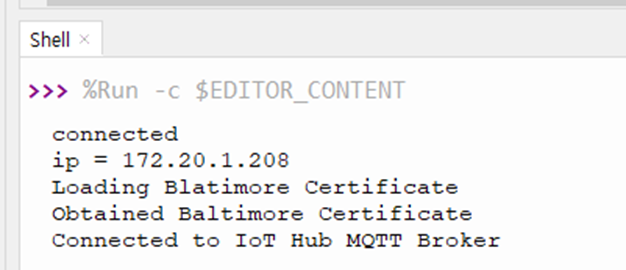
다음의코드 Baltimore ssl ceti도 저장하고 위의 스크립트를 실행하면 다음과 같이 연결된다.
□ IoT Hub와 Data 교환
다음처럼 결선을 한다.

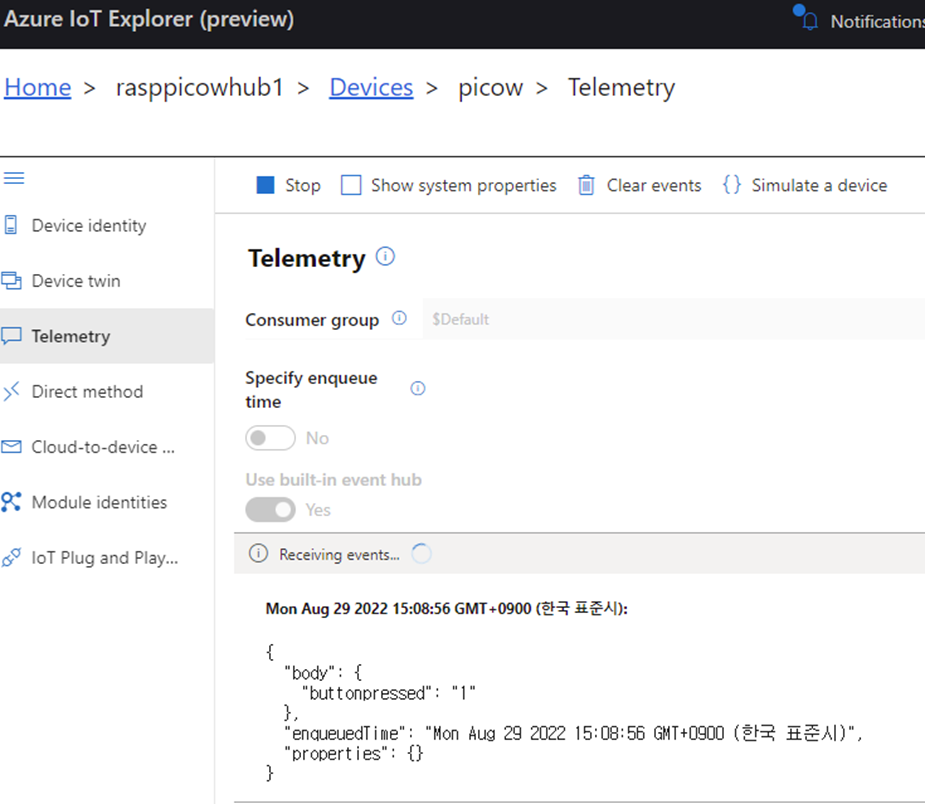
zure IoT Explorer의 Telemetry 탭의 Start를 클릭하고 버튼을 누르면 아래와 같이 출력된다.
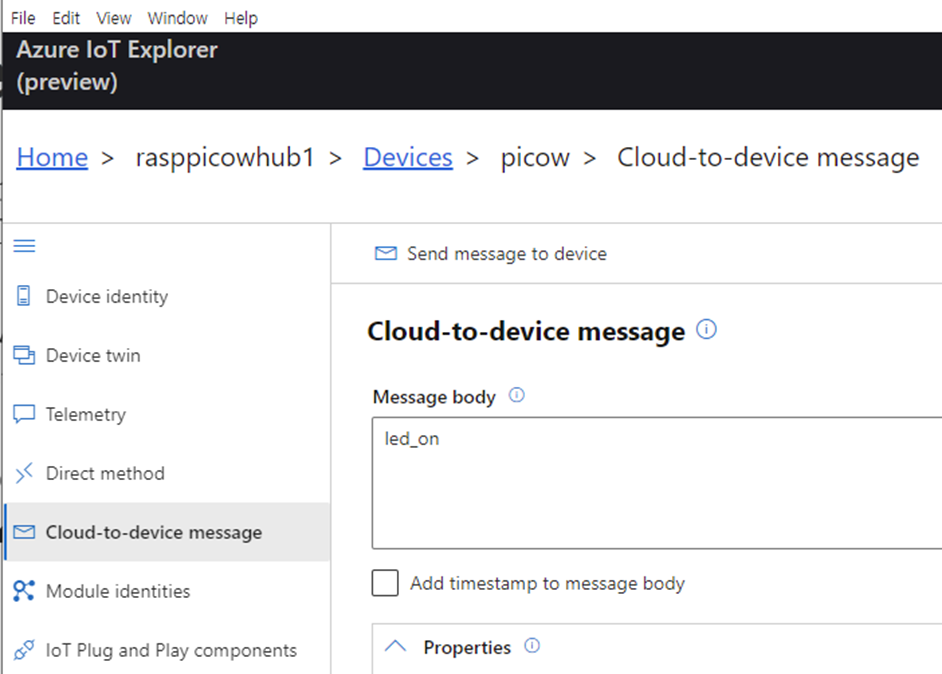
Cloud-to-device message 탭으로 이동후 Message body에 led_on이라고 입력한다.
Thonny의 터미널에 다음과 같이 출력되며 LED가 점등 소등된다.
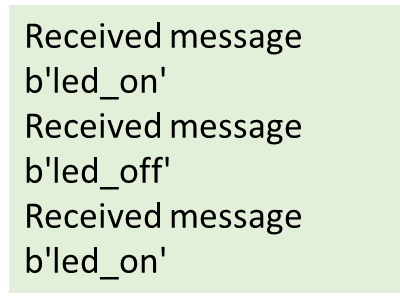
이상으로 IoT 허브와의 data 교환을 마친다.
로그인 후
참가 상태를 확인할 수 있습니다.