
수행기록퀘스트2
1. Pico W SDK 설치
참고 : https://www.raspberrypi.com/documentation/microcontrollers/c_sdk.html#sdk-setup
1) 작업 폴더 생성
$ mkdir -p ~/workspace/pico
$ cd ~/workspace/pico
2) pico-sdk & pico-examples 받기
$ git clone -b master https://github.com/raspberrypi/pico-sdk.git
$ cd pico-sdk
$ git submodule update --init
$ cd ..
$ git clone -b master https://github.com/raspberrypi/pico-examples.git
3) Toolchain 설치
$ sudo apt update
$ sudo apt install cmake gcc-arm-none-eabi libnewlib-arm-none-eabi build-essential
4) "Blinking an LED in C" 테스트
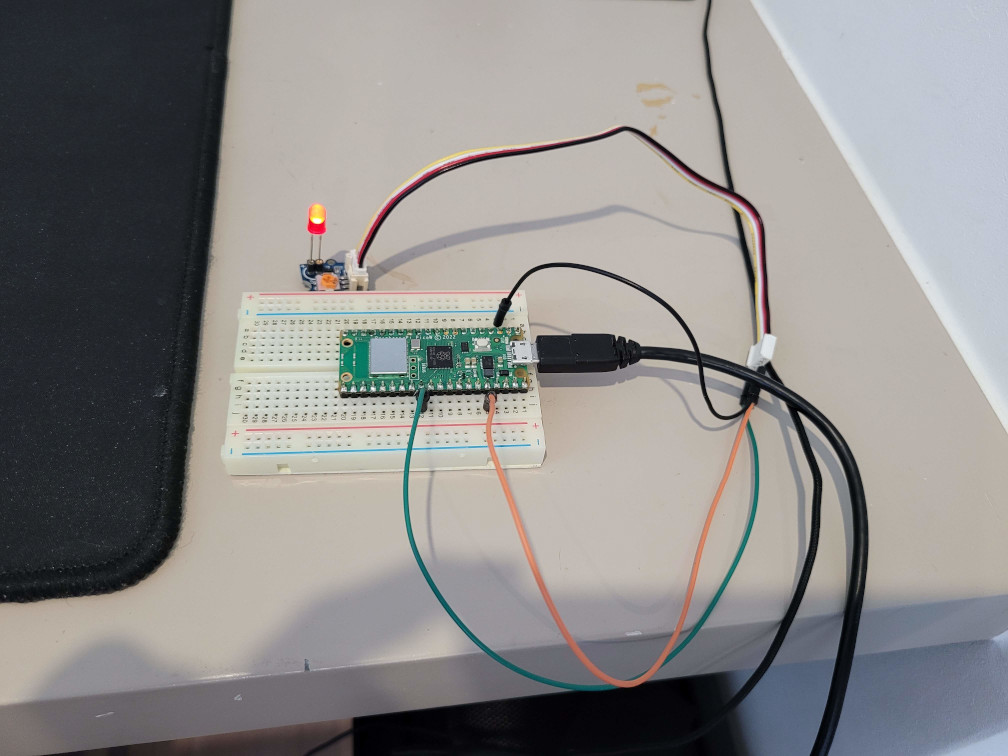
Pico W 보드의 LED는 WL_GPIO0에 연결되어 있어서, LED 별도 제어를 권장하지 않는다.
GP22 핀으로 제어하는 외부 LED 회로를 구성하고 예제 소스를 수정하여 테스트하였다.
~/workspace/pico/pico-examples$ git diff -- blink/
diff --git a/blink/blink.c b/blink/blink.c
index d478d78..6b28875 100644
--- a/blink/blink.c
+++ b/blink/blink.c
@@ -6,6 +6,8 @@
#include "pico/stdlib.h"
+#define PICO_DEFAULT_LED_PIN 22
+
int main() {
#ifndef PICO_DEFAULT_LED_PIN
#warning blink example requires a board with a regular LED
$ cd ~/workspace/pico/pico-examples
$ mkdir build
$ cd build
$ cmake ..
$ cd blink
$ make -j4
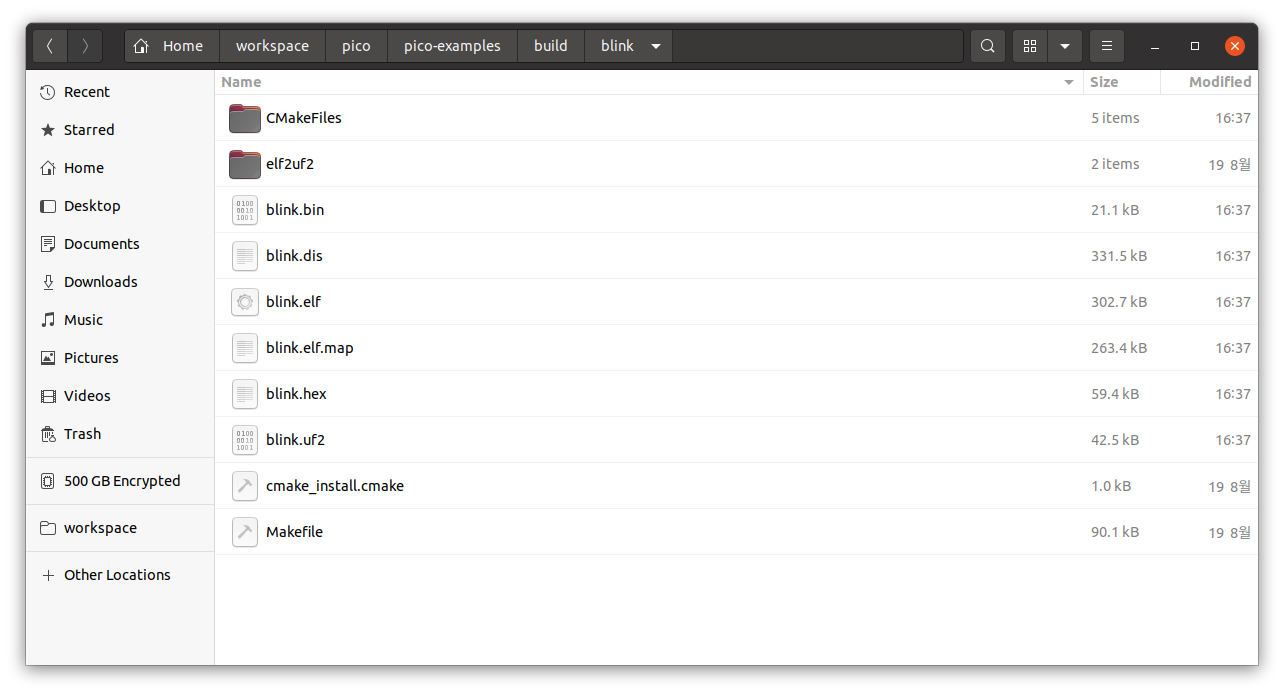
생성된 blink.uf2 를 RP2040 USB storage device에 복사&붙여넣기 하여 동작 확인.
2. MS Azure IoT Hub 설정
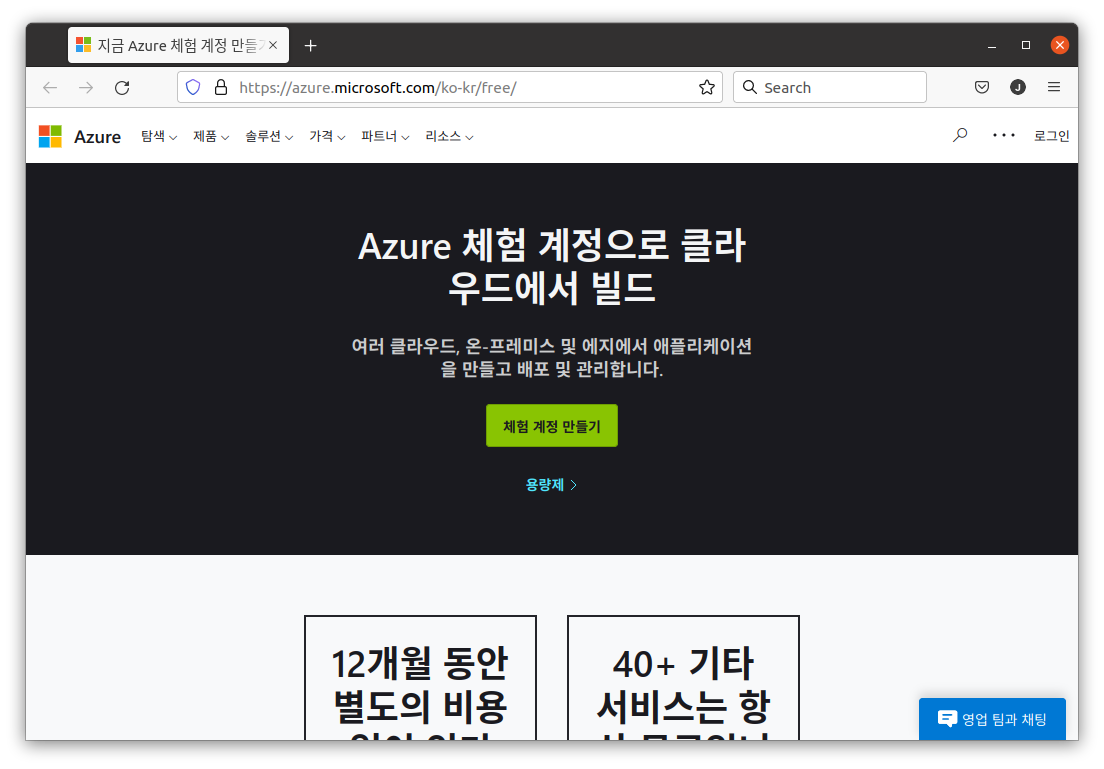
1) Azure Free 계정 생성.
https://azure.microsoft.com/ko-kr/free/
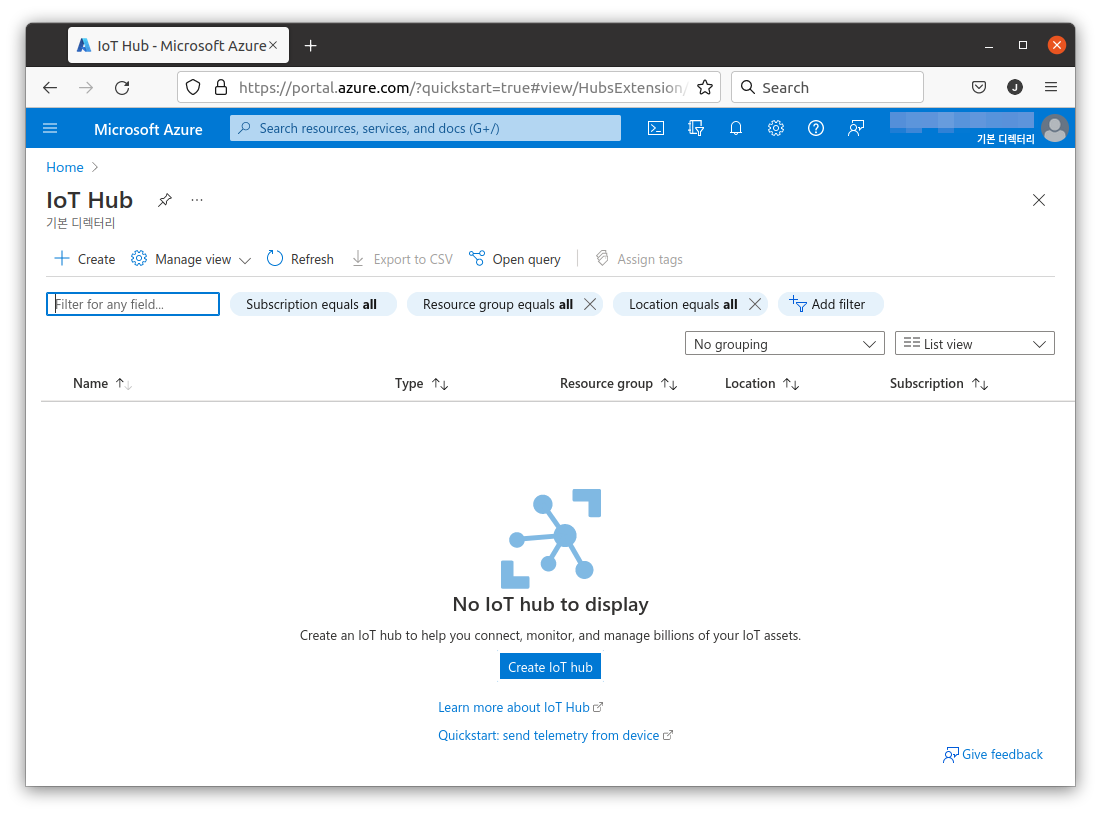
로그인 후
참가 상태를 확인할 수 있습니다.