
수행기록퀘스트3
@ SDK 추출, 생성
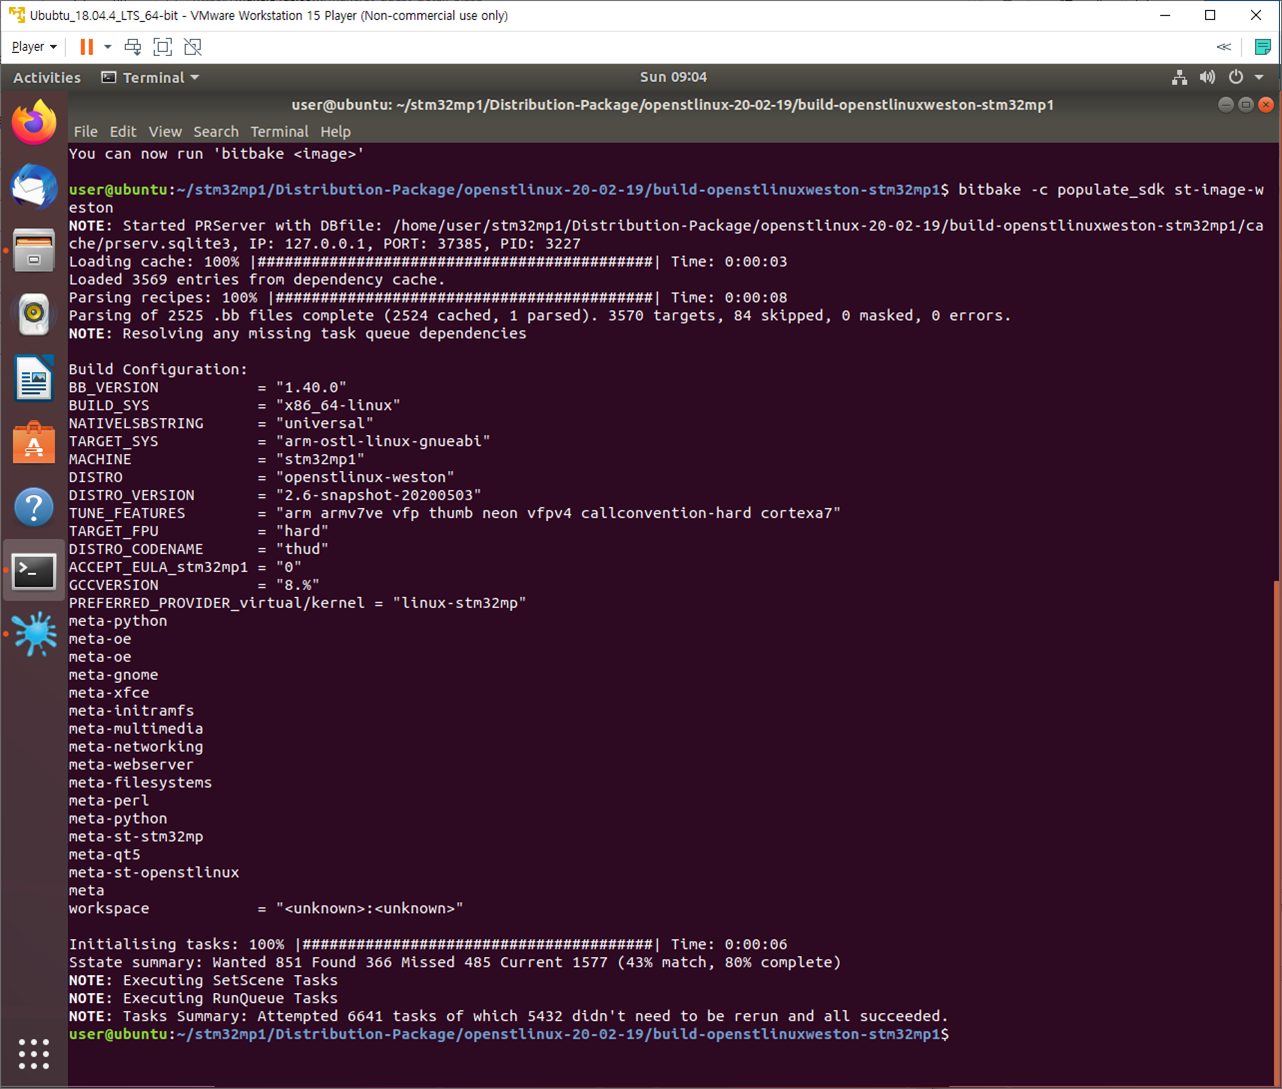
$ bitbake -c populate_sdk st-image-weston
% 참고 : https://wiki.st.com/stm32mpu/wiki/How_to_create_an_SDK_for_OpenSTLinux_distribution
@ SDK 설치
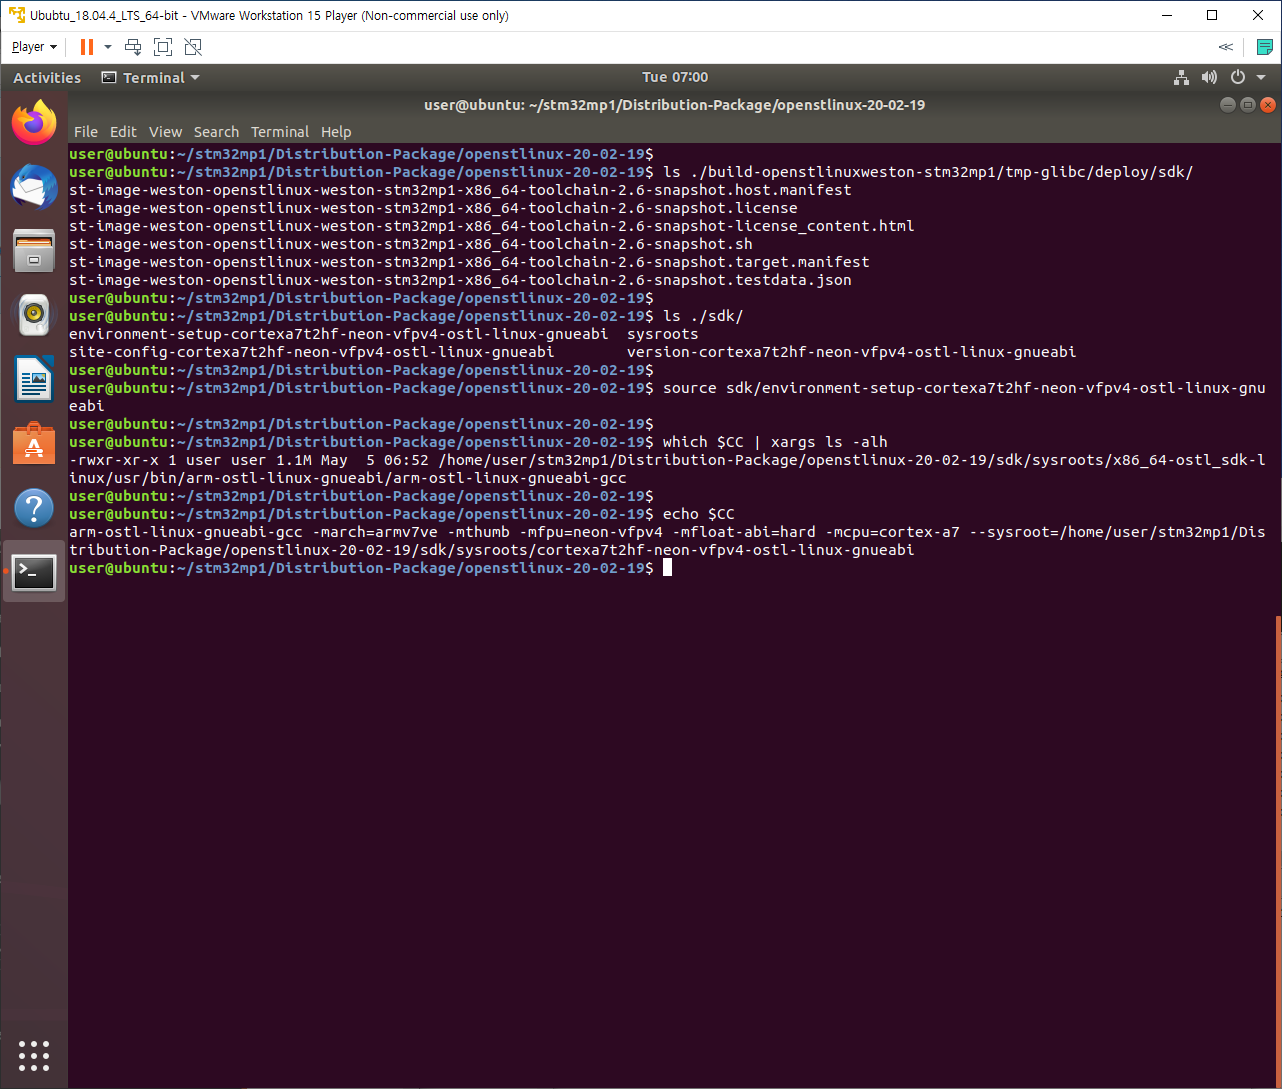
$ ./build-openstlinuxweston-stm32mp1/tmp-glibc/deploy/sdk/st-image-weston-openstlinux-weston-stm32mp1-x86_64-toolchain-2.6-snapshot.sh
% 설치 path : ~/stm32mp1/Distribution-Package/openstlinux-20-02-19/sdk

@ 환경변수 등록 및 확인
$ source sdk/environment-setup-cortexa7t2hf-neon-vfpv4-ostl-linux-gnueabi
$ which $CC | xargs ls -alh
$ echo $CC
Write the A7 application
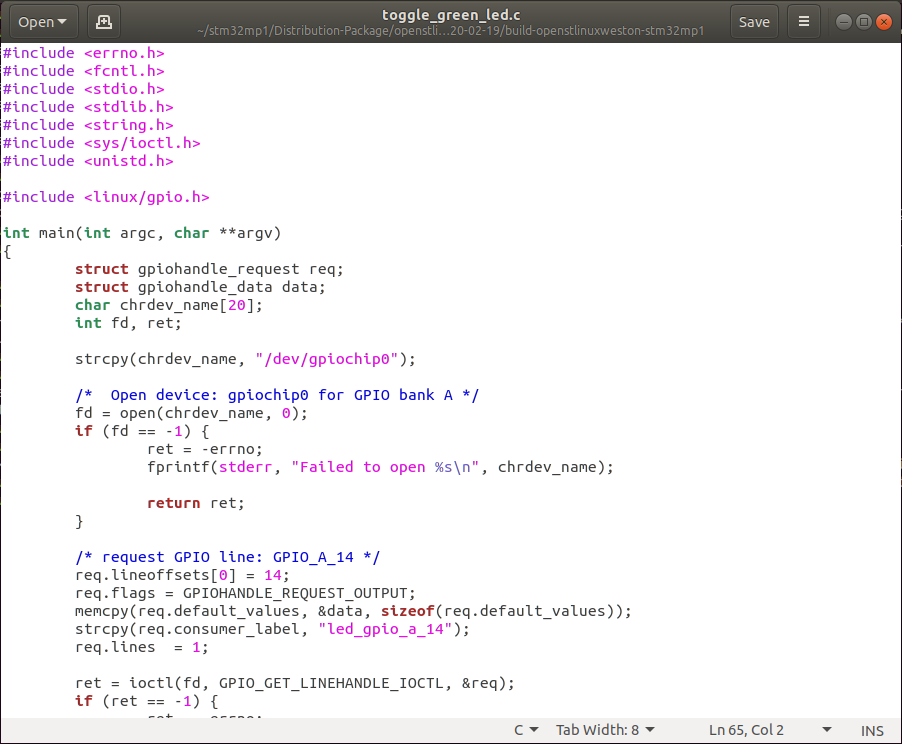
@ Green LED Toggle 예제 작성
$ mkdir toggle_green_led
$ cd toggle_green_led
% 참고 : https://wiki.st.com/stm32mpu/wiki/How_to_control_a_GPIO_in_userspace
@ devtool을 이용한 Bulild 및 배포
% 참고 Link에 있는 makefile을 이용한 build와 scp를 이용한 배포방식을 이용하지 않고, Quest2와 동일하게 진행함.
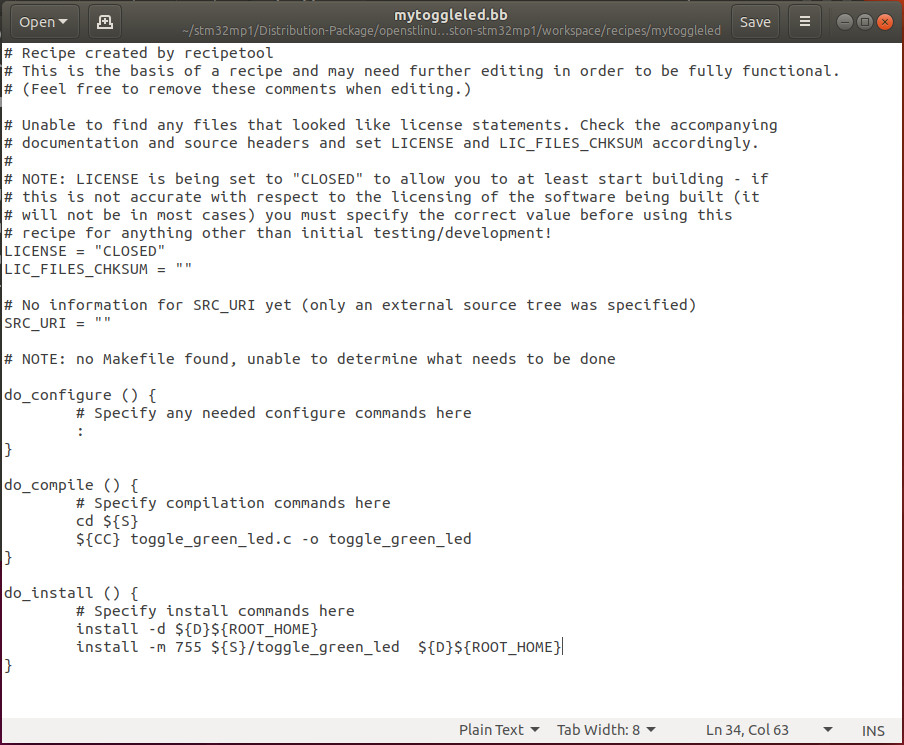
$ devtool add mytoggleled toggle_green_led
$ devtool edit-recipe mytoggleled
% Quest2의 hello_world_example는 /usr/bin으로 복사되었으나, 이번 Quest의 실행 파일은 /home/root로 복사되어야 하므로 do_install() 부분의 target path 수정.
% bitbake.conf 에서 ROOT_HOME 확인.
$ devtool build mytoggleled
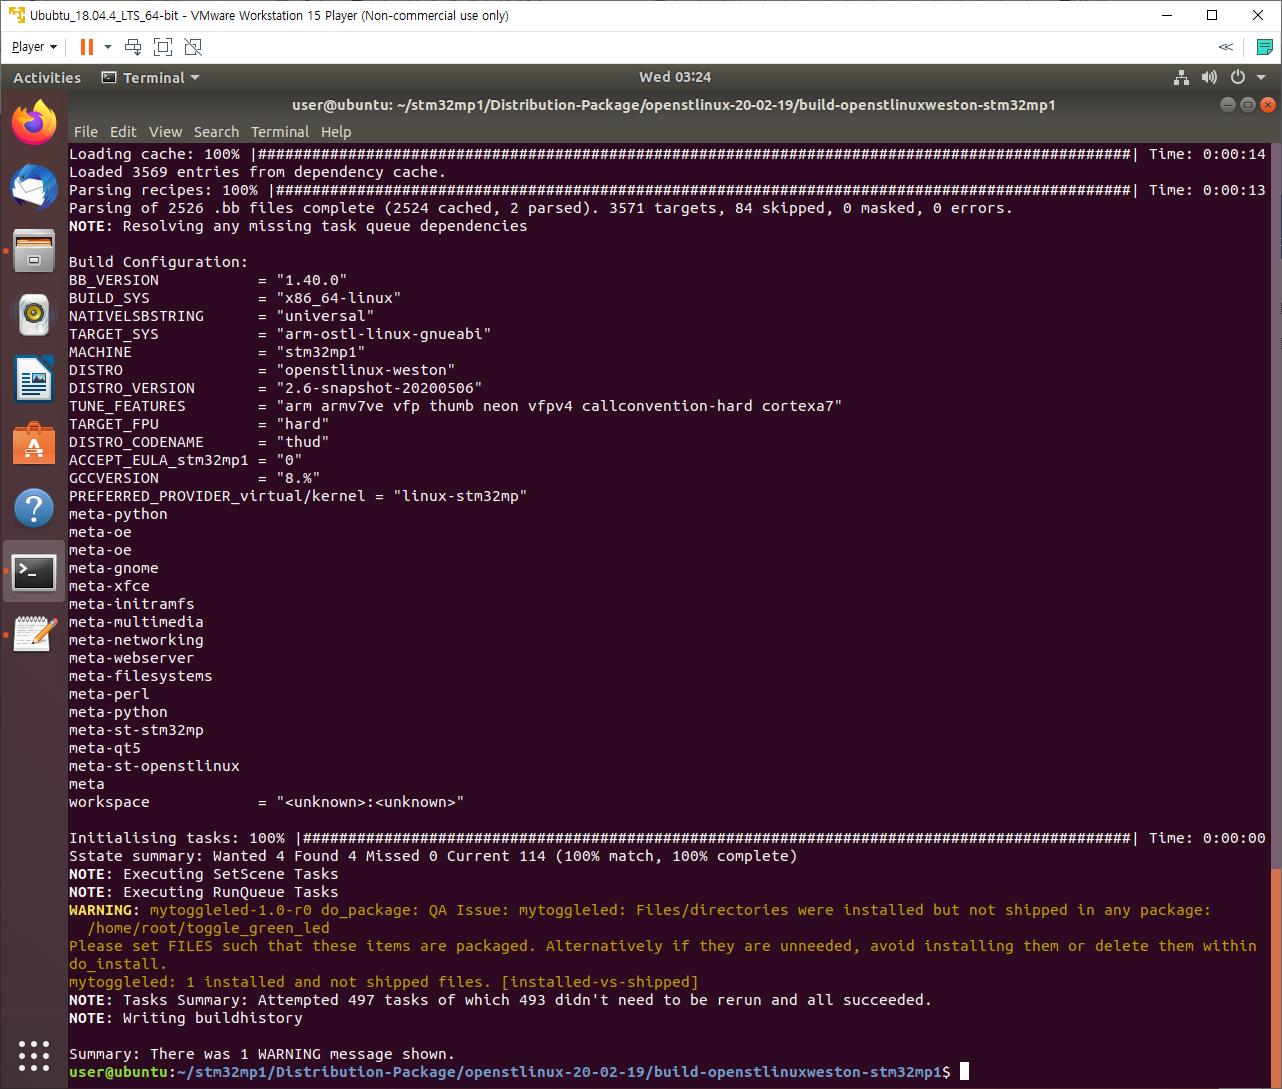
% 위와 같이 Warnnig이 발생함. Output files에는 문제가 없어 Target board로 배포진행.
% Warnning을 해결하기 위한 방법 확인중.
$ devtool deploy-target -s mytoggleled root@192.168.35.189
% 192.168.35.189 는 STM32MP157C-DK2의 IP Address
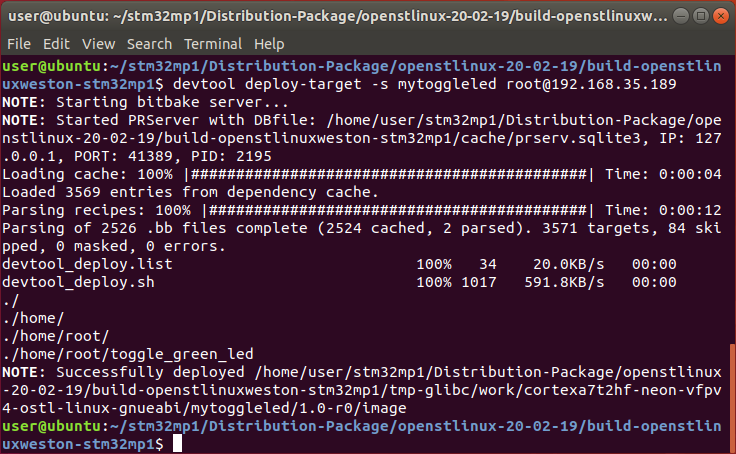
% /home/root 로 문제없이 배포 됨.
Execute the A7 application on the DK2 board.
@ 배포 완료된 toggle_green_led 실행파일 확인

@ toggle_green_led 실행
로그인 후
참가 상태를 확인할 수 있습니다.